|
How
I do it
Click images to view larger version |
|||||
|
|
|
|||
|
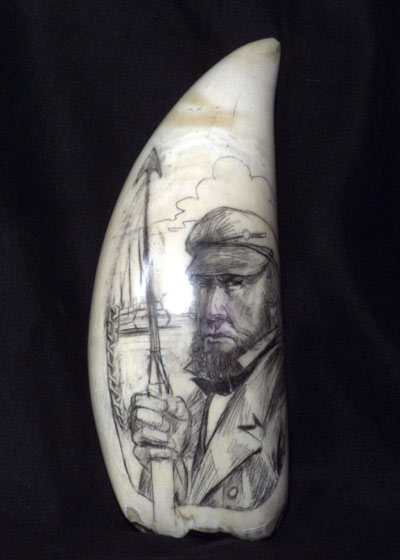
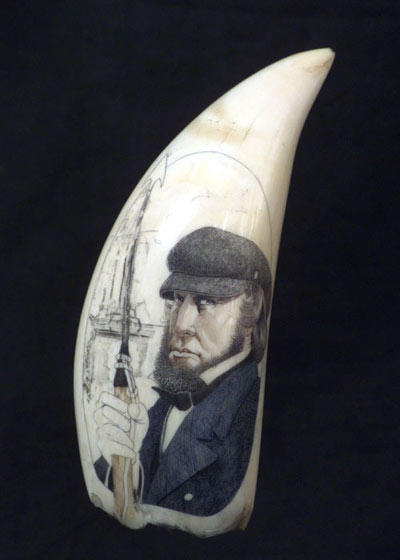 (14 hours 41 min) The main shadows in the face are now shown by stippling the scratches in the darkest areas. As you stipple, you can change the darkness of the area by both pressure and closeness of the pattern. I redrew this pattern of light before I began stippling the face. You must be careful when you go back in with a pencil at this point. Do not get the graphite into any scratch marks because that will muddy up your colors. The face shown here is virtually finished. Basically, there are only two tones represented in the face here: light and shadow areas. I could have done more subtle tonal transitions in the face, but the price would have been dramatically higher as a result. I also have scratched in part of the harpoon at this point. <NOTE: one of the most frequently asked questions I get is, “What if you make a mistake? This is a good example of what can be done in such a case. Look at the rope trailing around the harpoon. See where the rope is looped around itself? You can see the lines beneath the rope so that it looks like the rope is clear? Those lines were a mistake. It will be scratched out later by removing the black paint from the wrong scratches and overworked with the right ‘rope’ color. |
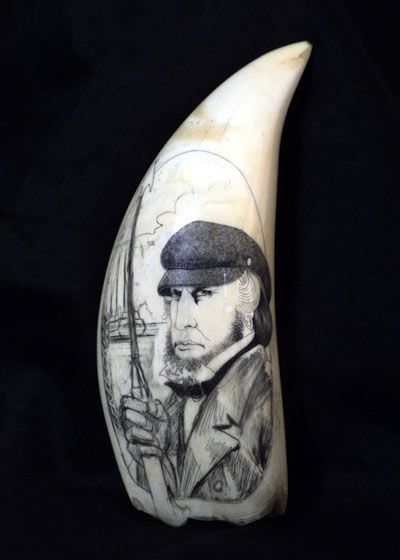
 (17 hours 41 min) Now the figure and harpoon
are finished. I decided to make the ship larger than the original
sketch. After redrawing it in pencil, I have begun to fill it
with black. I want the ship to be secondary so it will stay mostly
black paint. I have also begun to delineate the water area between
the hand and the ship. |
|||
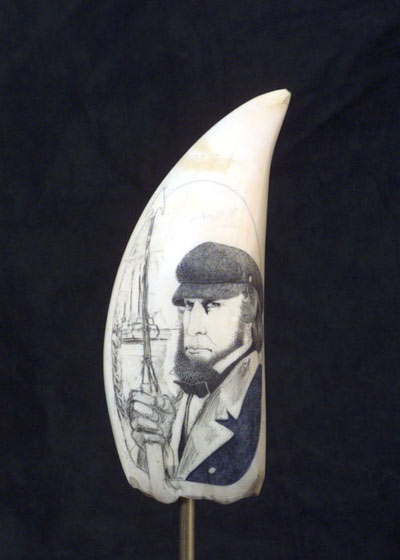
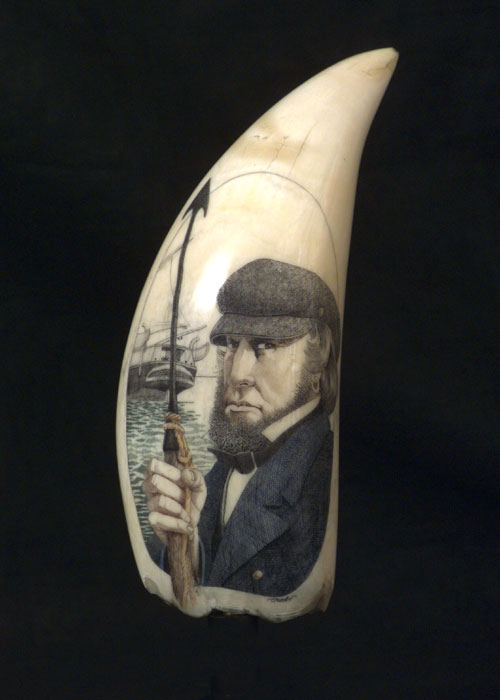 (21 hours 7 min) Almost finished! More has been done on the water, the hand, buttons, ship and harpoon. The water is done in a blue/green mixture. The hand is done in the same way the face was with the two basic areas of light & shadow. The rope is finished now (with the mistake covered!) All we lack is the finishing touches on the ship and the stand for the piece. We’ve also arrived at a title, “Bent to the Whale”. This is a play on words; the inclination of the man and the shape of his harpoon. Most harpoons were bent by the taking of whales. They were tempered so that they would bend instead of breaking. One of the men aboard a Whaling Ship was always a blacksmith to care for the iron harpoons, lances, etc. Notice too, that I have added my signature ‘Garbo’ at the bottom right of the art. |
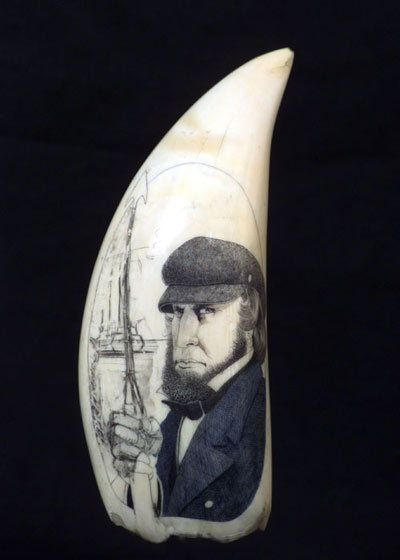
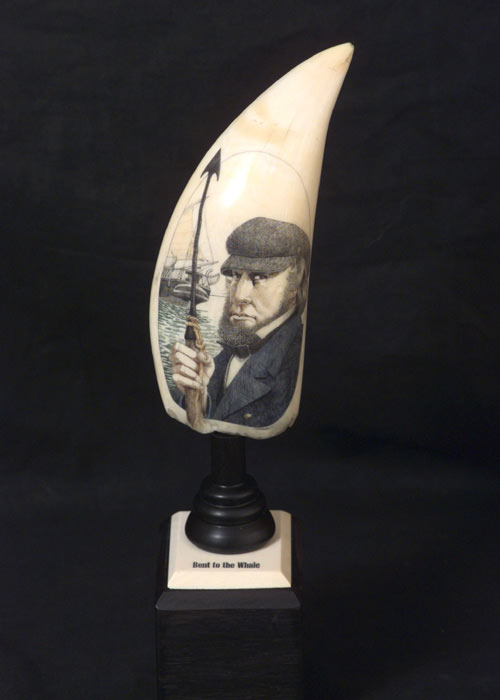 (25 hours 36 min) FINISHED! The base is made of a block of ebony wood capped with a 1/8” piece of elephant ivory and a turned finial of ebony. Inserted in the finial is a brass rod which connects the tooth to the stand. I scratched the title into the elephant ivory top. Finally, I cut a piece of leather and attached it to the bottom of the stand so it will rest easily on the customer’s desk. Finally, I notify the customer the work is complete. |
||||